 Pin It
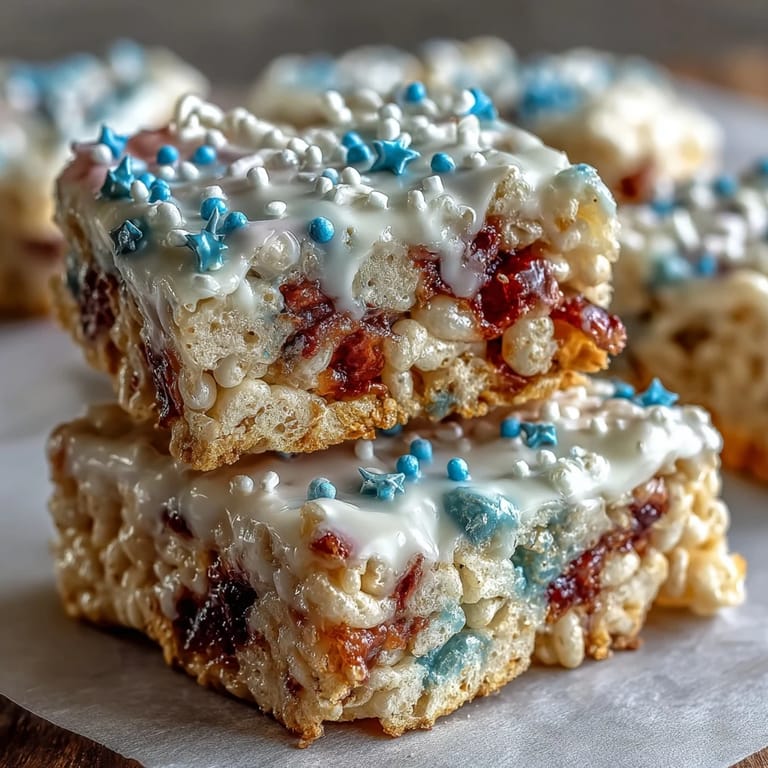
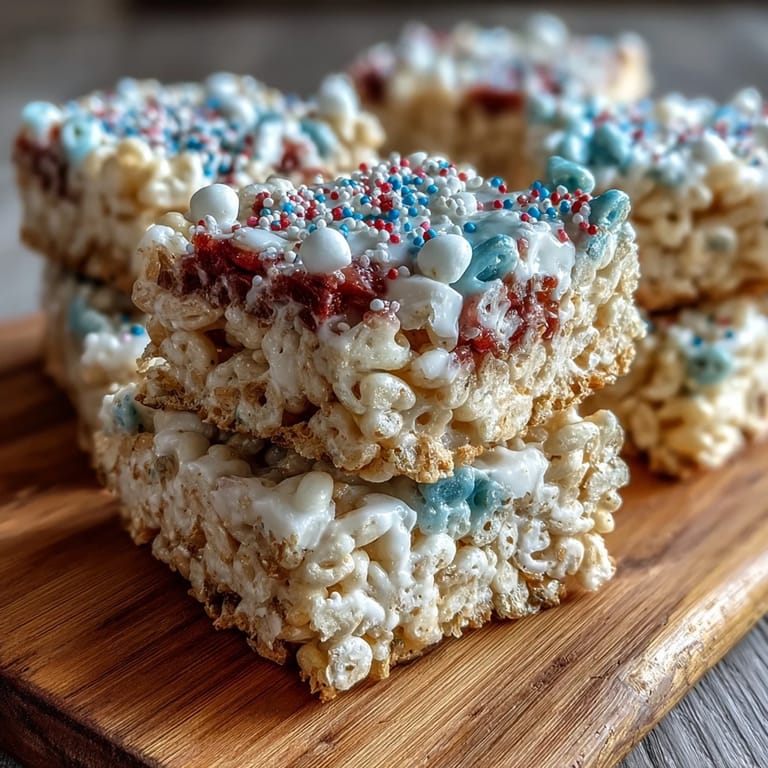
 The Fourth of July always meant my kitchen smelled like butter and marshmallows by mid-morning, and honestly, I wouldn't have it any other way. A friend once challenged me to make something patriotic that didn't involve food coloring disasters, and these layered Rice Krispies treats became my answer—simple enough that even my kids could help press the layers, yet festive enough to steal the show at any cookout. There's something satisfying about building dessert in stripes, watching the red, white, and blue come together like edible flags on a plate.
I'll never forget the year my nephew asked if we could make "the flag treats" again—except he'd misremembered and thought I'd baked them from scratch, which made me laugh so hard I nearly dropped the pan. That's when I realized these weren't just candy; they'd become the thing people actually asked for, the dessert that somehow meant summer and fireworks and being together in our kitchen surrounded by confetti.
Ingredients
- Rice Krispies cereal: Use exactly 6 cups and measure by pressing lightly into the measuring cup without compacting, or your layers will be dense instead of airy.
- Mini marshmallows: One 10 oz bag divided into thirds—buy a fresh bag rather than using old ones from the pantry, as they'll melt more smoothly.
- Unsalted butter: Keep this divided into three 1 tablespoon portions so each layer melts at the same pace without burning.
- Vanilla extract: This goes only in the white layer for subtle flavor, so don't skip it even if you think it's an odd choice.
- Red and blue gel food coloring: Gel is non-negotiable here—liquid coloring will make your mixture weepy and ruin the texture.
- Red, white, and blue sprinkles: These are optional but turn "cute treat" into "show-stopper dessert" in seconds.
Tired of Takeout? 🥡
Get 10 meals you can make faster than delivery arrives. Seriously.
One email. No spam. Unsubscribe anytime.
Instructions
- Prep your pan like you mean it:
- Line a 9x9-inch baking pan with parchment paper, letting it hang slightly over two opposite sides so you can lift the whole thing out later without wrestling. Lightly grease the parchment—this small step saves your sanity when you're ready to slice.
- Divide everything into three equal portions:
- Measure out three piles of about 3 1/3 cups marshmallows and set aside 1 tablespoon of butter for each layer, along with 2 cups Rice Krispies per layer. This organization prevents the chaos of trying to eyeball portions mid-marshmallow-melt.
- Make the red layer:
- Melt 1 tablespoon butter in a large saucepan over low heat, then add the first portion of marshmallows, stirring constantly until they're completely smooth and glossy. Stir in a few drops of red gel coloring—start with less than you think and keep stirring; the color deepens as it distributes, and you can always add more but you can't take it back.
- Toast in the Rice Krispies:
- Pour in 2 cups of cereal and fold gently until every piece is coated and the mixture pulls away from the pan sides. Transfer this to your prepared pan and press it firmly but gently into an even layer, using a greased spatula or your greased hands so nothing sticks.
- Build the white layer:
- Wipe your saucepan clean with a paper towel, then repeat the melting process with the second portion of butter and marshmallows. Stir in 1/2 teaspoon vanilla extract right before folding in the second 2 cups of cereal, which will give this middle layer a whisper of flavor.
- Layer with care:
- Gently press the white mixture over the red layer using the same technique—firm enough to hold its shape, gentle enough not to squish the layer below. The parchment paper makes this easier since your first layer is trapped underneath and won't slide around.
- Finish with the blue:
- Wipe the pan again, melt the last tablespoon of butter with the remaining marshmallows, and add blue gel coloring using the same caution as the red. Fold in the final 2 cups of cereal and press this blue layer on top, creating your patriotic sandwich.
- Crown with sprinkles if you're feeling festive:
- If using sprinkles, scatter them over the top while the blue layer is still slightly warm so they'll stick. Let everything cool undisturbed for a full hour before even thinking about cutting—patience here makes clean, beautiful squares.
 Pin It
 There was a moment last summer when I watched my grandmother eat one of these treats, and she got this quiet smile like she'd just tasted the whole season at once. That's when I understood—this recipe isn't complicated on purpose, it's simple on purpose, so the focus stays on the people around the table, not the kitchen stress.
Why Gel Coloring Changes Everything
The first time I made these with liquid food coloring, I learned an expensive lesson about texture in about thirty seconds. The mixture became sticky and impossible to layer, and I ended up with what looked like a swamp instead of stripes, which my family was tactful enough not to mention out loud. Gel coloring is thicker and doesn't add liquid to your marshmallows, so your treats stay chewy rather than gummy—a difference that separates something actually delicious from something technically edible.
The Parchment Paper Trick
Using parchment paper with overhang isn't just convenient; it's the difference between cleanly lifting your entire creation out of the pan and accidentally creating a marshmallow mess while wrestling with a metal spatula. Once everything is cooled and set, simply grab those paper edges and lift the whole slab onto a cutting board, which gives you a stable surface for slicing neat squares. This technique also saves you from having to grease the pan sides, which would otherwise stick to your knife as you cut.
Storage and Make-Ahead Magic
These treats last up to three days in an airtight container at room temperature, making them perfect for preparing the morning of your celebration or even a day ahead. The longer they sit, the slightly more they firm up, which actually helps them hold their shape when moved around or placed on serving platters. Here's what I've learned through trial and error about keeping them at their best:
- Store in an airtight container or cover tightly with plastic wrap to prevent them from drying out or absorbing kitchen odors.
- Keep them away from direct sunlight and heat, as the colored layers can fade and the texture will become weepy.
- Cut only the pieces you plan to serve, and leave the rest as one block until you need it, since cut edges dry faster than intact surfaces.
 Pin It
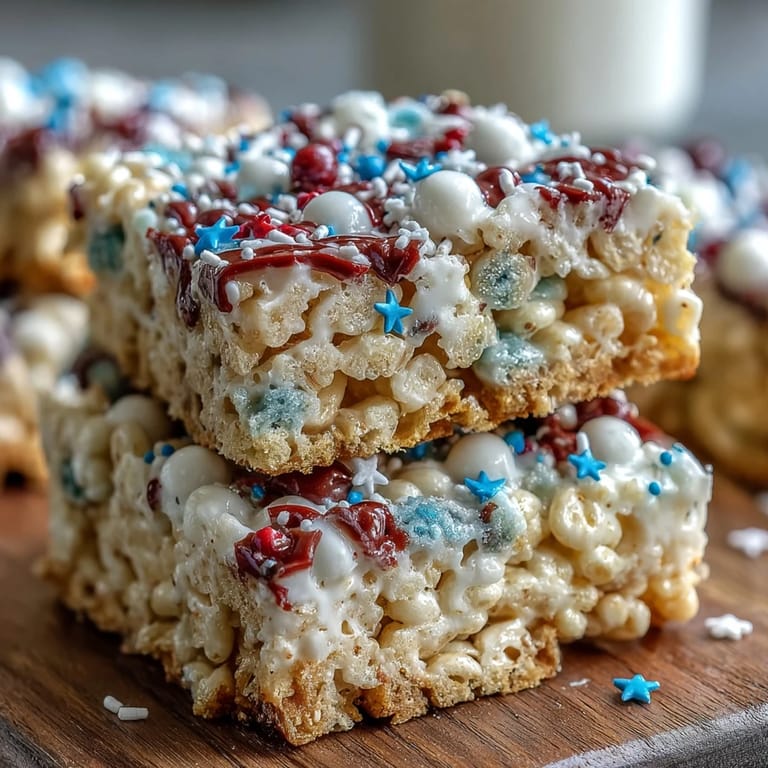
 These treats have become my Fourth of July signature, the dessert that shows up year after year because the magic isn't in complexity—it's in the satisfaction of building something beautiful with people you actually want to spend time with. Make these once, and you'll understand why they've earned their permanent spot on summer tables.
Questions & Answers
- → How do I achieve vibrant color layers?
Use gel food coloring rather than liquid to maintain the mixture’s consistency and achieve more vibrant hues.
- → Can I prepare these treats ahead of time?
Yes, they can be stored in an airtight container for up to 3 days without losing freshness.
- → What is the best way to prevent sticking while pressing layers?
Lightly grease your hands or spatula to press the mixture evenly without it sticking.
- → Are there any common allergens in this dish?
Contains milk from butter and gelatin from marshmallows; check your cereal for gluten content if needed.
- → How long should the layers cool before slicing?
Allow at least one hour for the treat to cool and set fully before lifting and slicing.