 Pin It
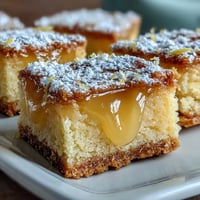
 My daughter came home from summer camp talking about nothing but the frappuccino pops they served at the snack shack, and honestly, I was skeptical until I tasted one myself. The way the cold vanilla cream melted against that fudgy bottom layer felt like pure summer nostalgia, even though I'd never had anything quite like it before. That afternoon in the kitchen, watching her peer into the popsicle molds with genuine excitement, I realized this wasn't just about replicating a treat, it was about capturing that specific moment when she thought homemade might actually be better than store-bought.
Last summer my best friend brought her two kids over on the hottest day of July, and we made these together while the kitchen felt like a sauna. Watching those kids carefully pour the vanilla mixture without spilling a drop, then the pure joy when they tasted their frozen creations an hour later, turned an ordinary Tuesday into something we still talk about. She now makes these for every neighborhood gathering, and it's become her signature move.
Ingredients
- Whole milk: This is your base canvas, so don't skip using whole milk, the fat content is what makes these taste creamy rather than icy and thin.
- Heavy cream: Split between the frappuccino mixture and the fudge layer, it's the ingredient that transforms this from a sorbet into something luxurious.
- Sweetened condensed milk: This acts as both sweetener and thickener, preventing the pops from turning into hard ice blocks.
- Strong brewed espresso or coffee: Let it cool completely before mixing or you'll end up with warm spots in your pops, which sounds minor but absolutely matters for texture.
- Vanilla bean: If you can find a real vanilla bean, split it open and scrape those tiny seeds into the mixture, the specks look beautiful and taste infinitely better than extract alone.
- Semisweet chocolate chips: Don't use chocolate chips labeled for baking, they have wax in them that changes the texture of the fudge layer.
- Granulated sugar: Start with the quarter cup and taste before freezing, because sugar preferences vary wildly from kitchen to kitchen.
Tired of Takeout? 🥡
Get 10 meals you can make faster than delivery arrives. Seriously.
One email. No spam. Unsubscribe anytime.
Instructions
- Combine the creamy base:
- Whisk together the milk, heavy cream, sweetened condensed milk, cooled coffee, vanilla bean seeds, and sugar in a medium bowl until everything is fully incorporated and the sugar has dissolved. This takes longer than you'd think, so keep whisking for a solid minute to make sure no sugar crystals are hiding at the bottom.
- Melt the fudge layer:
- Combine chocolate chips and heavy cream in a microwave-safe bowl and microwave in twenty-second bursts, stirring between each interval until you have smooth, glossy chocolate. The key is patience here, rushing leads to burned chocolate that tastes bitter and grainy.
- Layer the fudge:
- Spoon one to two teaspoons of the still-warm fudge mixture into the bottom of each popsicle mold, working quickly before it sets up. If you want a marbled effect, you can drag a toothpick through the fudge before adding the next layer, creating those gorgeous swirls.
- Pour the vanilla mixture:
- Carefully pour or spoon the frappuccino mixture over the fudge layer until each mold is nearly full, leaving just a tiny bit of room at the top. If you pour too eagerly, the fudge will float up and you'll lose that clean layer separation.
- Insert sticks and freeze:
- Pop the popsicle sticks into the center of each mold and slide the whole thing into the freezer for at least four hours, though overnight is even better. You'll know they're ready when they feel solid to the touch and don't budge when you gently tug a stick.
- Release and serve:
- Run the outside of the mold under warm water for just a few seconds, enough to loosen the pop without melting it, then gently push from the bottom. The moment when they slide out perfectly is genuinely satisfying every single time.
 Pin It
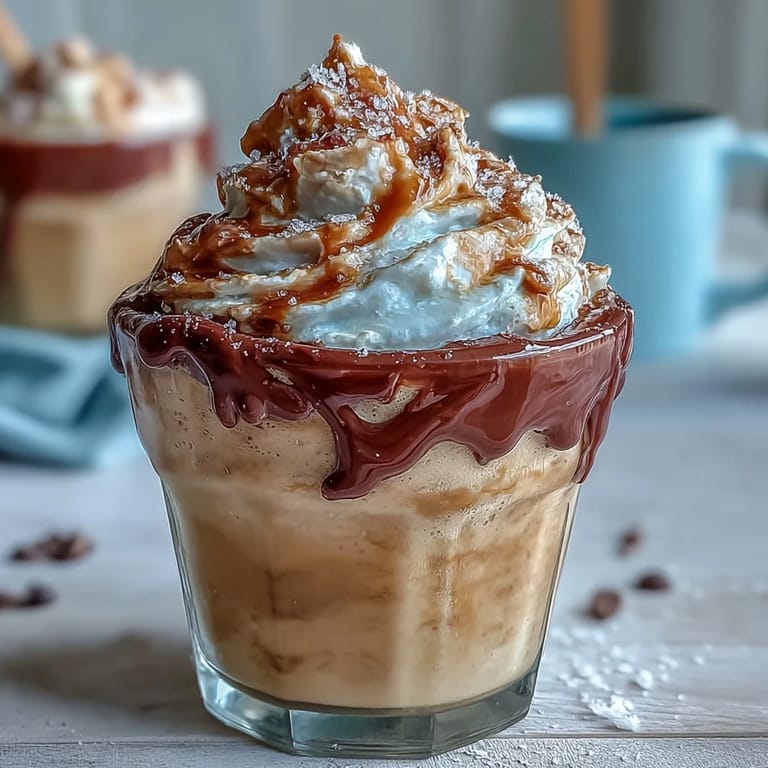
 There's something almost meditative about the ritual of popping these out of the molds on a summer afternoon, that satisfying release sound echoing in a quiet kitchen. My son now requests these for his birthday instead of cake, which feels like the highest compliment a dessert can receive.
Making Them Dairy-Free
Swap out the whole milk and heavy cream for full-fat coconut milk, and use coconut cream in place of the sweetened condensed milk, keeping the ratios exactly the same. The fudge layer works beautifully with dairy-free chocolate as long as you use coconut cream to melt it, giving you essentially the same result without any compromise on richness. I made these for a friend with dairy restrictions and she couldn't believe they tasted this close to the original, which tells you everything you need to know.
Adjusting the Coffee Flavor
Some people want barely a whisper of coffee, others want it to be the star of the show, so there's absolutely flexibility here. If you prefer something milder, reduce the espresso to a quarter cup and add a tablespoon of sweetened condensed milk to compensate for the lost liquid. Going the opposite direction, increase the espresso to half a cup if you want that coffee flavor to really announce itself, though you might need to reduce the regular milk slightly to maintain the right texture.
Storing and Serving Tips
These keep beautifully in the freezer for up to two weeks if you wrap them individually in parchment paper after they're fully frozen, preventing that weird freezer burn taste from developing. I learned this the hard way after finding some forgotten pops in the back of the freezer that tasted like a combination of coffee and whatever else was lurking in there, so proper wrapping genuinely matters.
- Make these the day before a gathering so you have zero stress on the day itself and can actually enjoy your guests.
- If a pop breaks while removing it, just eat it immediately out of the mold because it's still absolutely delicious.
- Let them soften at room temperature for two minutes if you find them rock-hard, it makes them easier to bite and prevents brain freeze.
 Pin It
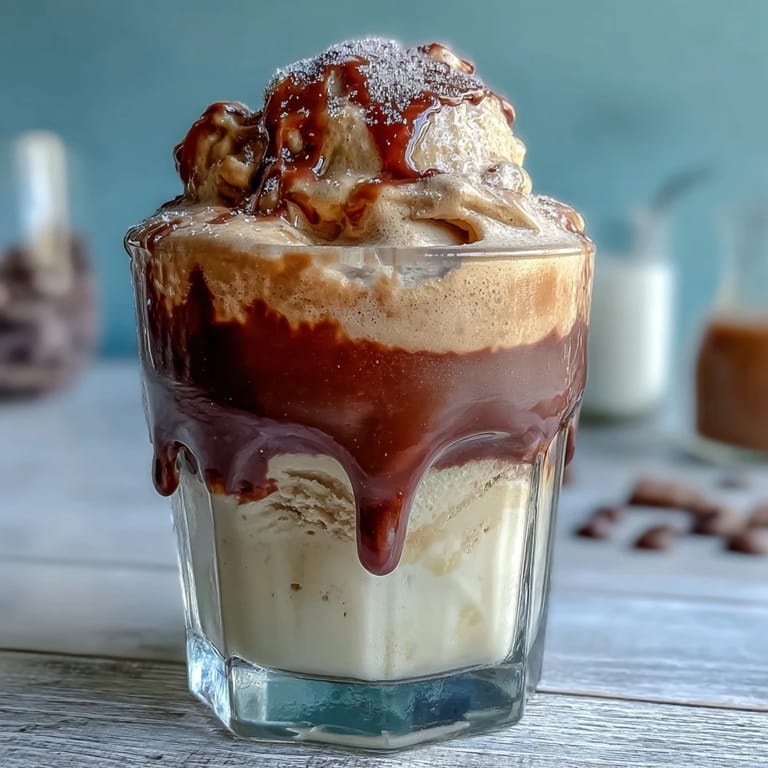
 There's genuine magic in pulling a homemade frappuccino pop from the freezer and watching someone's face light up at that first bite. These aren't just frozen treats, they're a little moment of care captured in popsicle form.
Questions & Answers
- → Can I use vanilla extract instead of a vanilla bean?
Yes, using 2 teaspoons of pure vanilla extract is a convenient alternative that still imparts rich vanilla flavor.
- → How long should the pops freeze for best texture?
Freeze the pops for at least 4 hours to allow them to fully solidify and achieve the ideal creamy texture.
- → Is it possible to make a dairy-free version?
Substitute whole milk and cream with coconut milk and coconut cream for a creamy, dairy-free variation.
- → How can I create a marbled effect with the fudge layer?
Swirl the chocolate fudge layer gently before freezing to give the pops a decorative marbled appearance.
- → What is the best way to remove the pops from molds?
Run the outside of the molds under warm water briefly to loosen, making removal easier without melting.