 Pin It
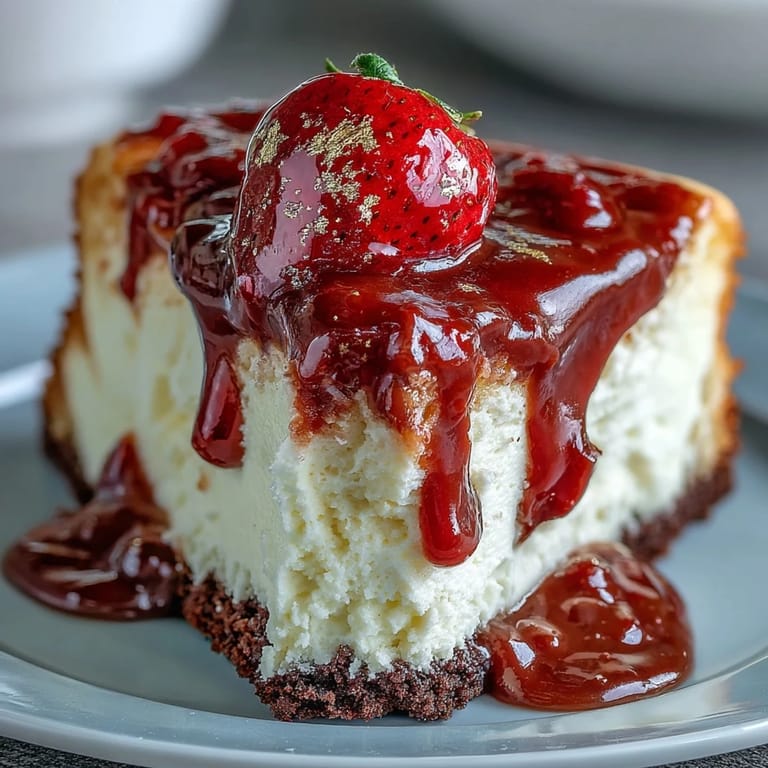
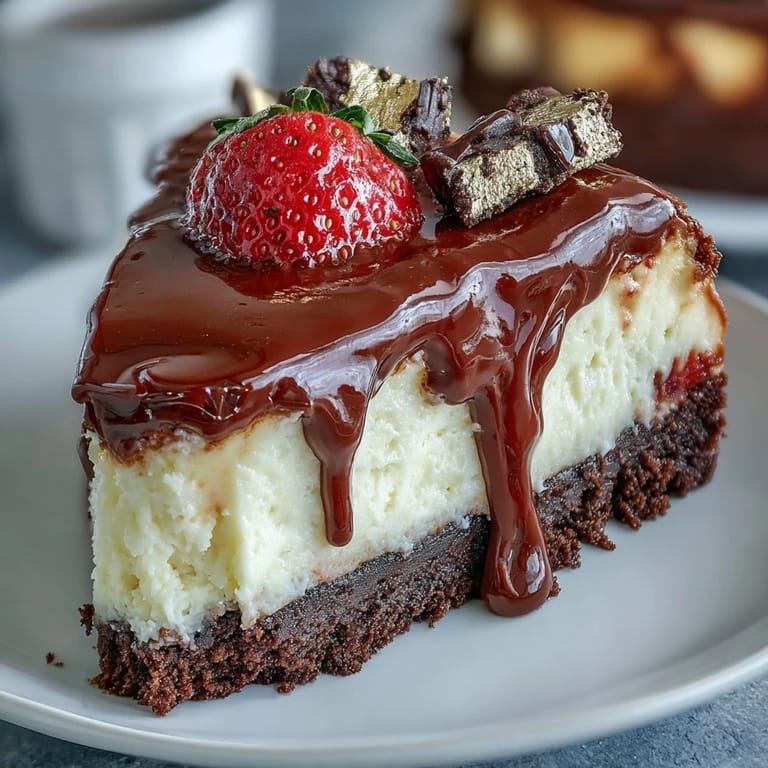
 I stumbled upon these little treasures while scrolling through photos from a friend's trip to Dubai, and honestly, they looked almost too elegant to be real. The way the strawberry sat perched on top of that glossy chocolate drizzle, catching the light like a tiny jewel—I knew I had to recreate them in my own kitchen. What struck me most was how they managed to feel luxurious without being fussy, which became my entire mission that afternoon. These mini cups proved that you don't need hours of work to feel like you're serving something from a five-star pastry case. Now they're my go-to when I want to impress without the stress.
Last summer, I made a batch of these for a dinner party where my sister brought her new partner, and watching everyone's faces light up when they saw those gold-leafed cups on the dessert table was everything. Someone actually asked if I'd ordered them from a fancy bakery, and I let them think I was mysterious about it for a solid minute before confessing the truth. That moment taught me that food doesn't have to be complicated to make people feel celebrated. It just has to be made with a little extra thought.
Ingredients
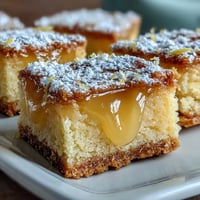
- Chocolate digestive biscuits (150 g, crushed): These are your foundation, and their cocoa flavor plays beautifully against the tangy cream cheese—don't skip them for regular digestives or your base will taste bland.
- Unsalted butter, melted (50 g): Use actual melted butter rather than oil; it creates a more cohesive base that holds together instead of crumbling when you bite into it.
- Cream cheese, softened (300 g): Softened is the magic word here—take it out of the fridge 30 minutes before mixing so you don't end up with lumpy filling that refuses to smooth out.
- Heavy cream (100 ml): This lightens the filling and keeps it from tasting like a brick of pure cheese, giving you that cloud-like texture.
- Powdered sugar (80 g): Measure this carefully and sift it if you see lumps, otherwise you'll end up with grainy pockets in your otherwise silky filling.
- Vanilla extract (1 tsp): Use real vanilla if you can; the difference between it and imitation is the difference between meh and memorable.
- Lemon juice (1 tbsp): This bright note keeps the cheesecake from tasting one-dimensional and cuts through the richness like a tiny flavor hero.
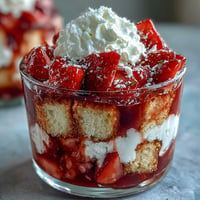
- Fresh strawberries (12, hulled and halved): Choose berries that smell fragrant and feel slightly firm—mushy ones will slide around on top and look sad.
- Dark chocolate, melted (50 g): Use chocolate you'd actually eat on its own, not baking chocolate; that drizzle is part of the experience and tastes as good as it looks.
- Pistachios, finely chopped (1 tbsp, optional): These add a subtle earthiness and that luxe green color that screams Dubai indulgence without overpowering the other flavors.
- Edible gold leaf (optional): A tiny flake transforms these from pretty to downright show-stopping—worth the splurge if you're serving them for something special.
Tired of Takeout? 🥡
Get 10 meals you can make faster than delivery arrives. Seriously.
One email. No spam. Unsubscribe anytime.
Instructions
- Prepare your stage:
- Line your mini muffin tin with paper liners so you can lift these beauties out cleanly without them sticking. Take a moment to make sure the liners sit flat and evenly—it matters more than you'd think for presentation.
- Build the base:
- Crush your chocolate biscuits until they look like coarse sand (a food processor makes this ridiculously easy, or use a bag and a rolling pin if you want to work out some feelings). Mix them with the melted butter until the texture resembles wet sand, then divide evenly among the liners, pressing down firmly with your thumb or the back of a spoon so each base is compact and won't crumble when you bite.
- Chill the foundation:
- Pop these into the fridge for 10 minutes—this keeps the base from getting soft when you add the creamy filling on top. It's a small step that makes a real difference in texture.
- Create the filling:
- Beat your softened cream cheese until it's completely smooth with no lumps hiding anywhere, then gradually add the heavy cream, powdered sugar, vanilla, and lemon juice while mixing on medium speed. Stop when it looks like billowing clouds and tastes perfectly balanced between sweet and tangy—overbeating will make it grainy and weird.
- Fill with intention:
- Spoon or pipe the filling onto each chilled base, smoothing the tops with the back of a spoon or an offset spatula so they look polished and even. A piping bag makes this easier if you have one, but honestly a spoon works just fine.
- The long chill:
- Refrigerate these for at least 2 hours until the filling is completely set and holds its shape—this is not a step to rush or the whole thing falls apart when you add the topping. You can actually make these a day ahead and keep them in the fridge, which is perfect for stress-free entertaining.
- The grand finale:
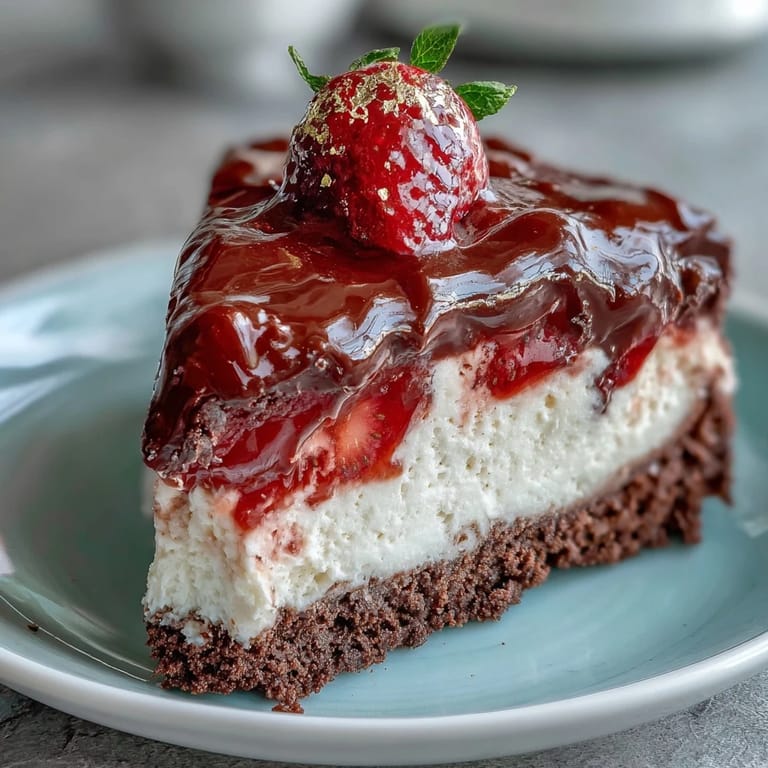
- Just before serving, crown each cup with a strawberry half, drizzle with that glossy melted dark chocolate, then scatter the pistachios and add a whisper of gold leaf if you're feeling fancy. The chocolate should still be warm enough to drizzle smoothly but not so hot it melts the berries.
 Pin It
 There's something deeply satisfying about turning 12 little paper cups into what looks like a professional patisserie display. My mom actually tried to take a photo for her group chat before anyone had even tasted them, which felt like the ultimate compliment. That's when I realized these aren't just dessert—they're a moment of joy served in edible form.
The Art of the Perfect Base
The base is honestly where these cups either succeed or disappoint, and I learned this the hard way by mixing too little butter the first time and ending up with something that crumbled like sand. You want a texture that holds together when pressed but still feels slightly loose—not a dense brick. The chocolate biscuits matter too; they need to be crushed fine enough to compact but not so fine they turn into paste. Once you nail this, everything else falls into place beautifully.
Timing and Temperature Matter
I used to assemble these whenever I felt like it, but I've learned that having everything at the right temperature actually changes the game. The base needs to be fully set but not ice-cold, the filling needs to be smooth and spreadable but chilled enough to hold its shape, and the strawberries and chocolate topping work best when added just minutes before serving. It sounds fussy, but it's really just about respecting each component's moment in the spotlight and not trying to rush the process.
Variations and Flourishes That Work
Once you have the basic formula down, this recipe becomes your playground. I've made versions with cardamom stirred into the filling, others with a hint of rose water that felt almost Middle Eastern in their elegance. The toppings can shift with the season too—raspberries in summer, pomegranate seeds in winter, or even a drizzle of white chocolate if you want to go rogue. The bones of the recipe are sturdy enough to support whatever your mood and pantry suggest.
- A pinch of ground cardamom in the filling whispers of spice without announcing itself loudly.
- Fresh berries beyond strawberries work beautifully, so follow the seasons and what looks best at your market.
- Skip the gold leaf if it feels pretentious to you—these are stunning enough without it, and they taste exactly the same either way.
 Pin It
 These little cups have become my answer whenever someone asks what to bring to a potluck or how to end a meal on a luxe note. They're proof that elegance lives in the details, not the difficulty.